To prepare an image for a form with a 200KB limit, first confirm the accepted format and pixel dimensions. Then set PicZip's target to 200KB and compress once without resizing. If the form only needs a modest display size, try a second version with a lower maximum width. Download the version that meets every rule, not simply the smallest file.
We tested both approaches with the same 2,976,317-byte PNG. Keeping its 1536×1024 dimensions produced a 196,308-byte WebP. Limiting width to 1200px produced a 1200×800 WebP of 157,426 bytes. Both were under PicZip's 204,800-byte target, but they suit different forms.
The two results side by side
The source is a privacy-safe coastal image with roofs, trees, clouds, and water. Those details make it more useful than a flat graphic for checking what happens when a form photo is compressed. We used Auto output and quality 82 for both runs; only maximum width changed.
| Run | Dimensions | Exact size | Best use |
|---|---|---|---|
| No width limit | 1536×1024 | 196,308 bytes | Scans or forms that need more pixels |
| 1200px maximum | 1200×800 | 157,426 bytes | Profile and application photos displayed small |
The first result sits 8,492 bytes below 200KB when 1KB is treated as 1024 bytes. The second has 47,374 bytes of headroom. A service that interprets “200KB” as 200,000 bytes would accept both of these test results, but that is not guaranteed for every image.
Step 1: Read all of the form's image rules
“Under 200KB” is often only one requirement. A form may also accept JPG only, require a square photo, set a minimum width, or reject filenames with unusual characters. Write down the format, maximum bytes, minimum and maximum dimensions, and aspect ratio before changing the image.
Compression does not crop a portrait or repair the wrong aspect ratio. If a form asks for 600×600 pixels and your photo is 1200×800, solve the crop separately before using file-size compression.
Step 2: Run the first attempt without resizing
Open the PicZip 200KB image compressor. Keep Target size at 200, Output on Auto, and quality at 82. Enter 0 for Max width when you want the first run to preserve the source dimensions.
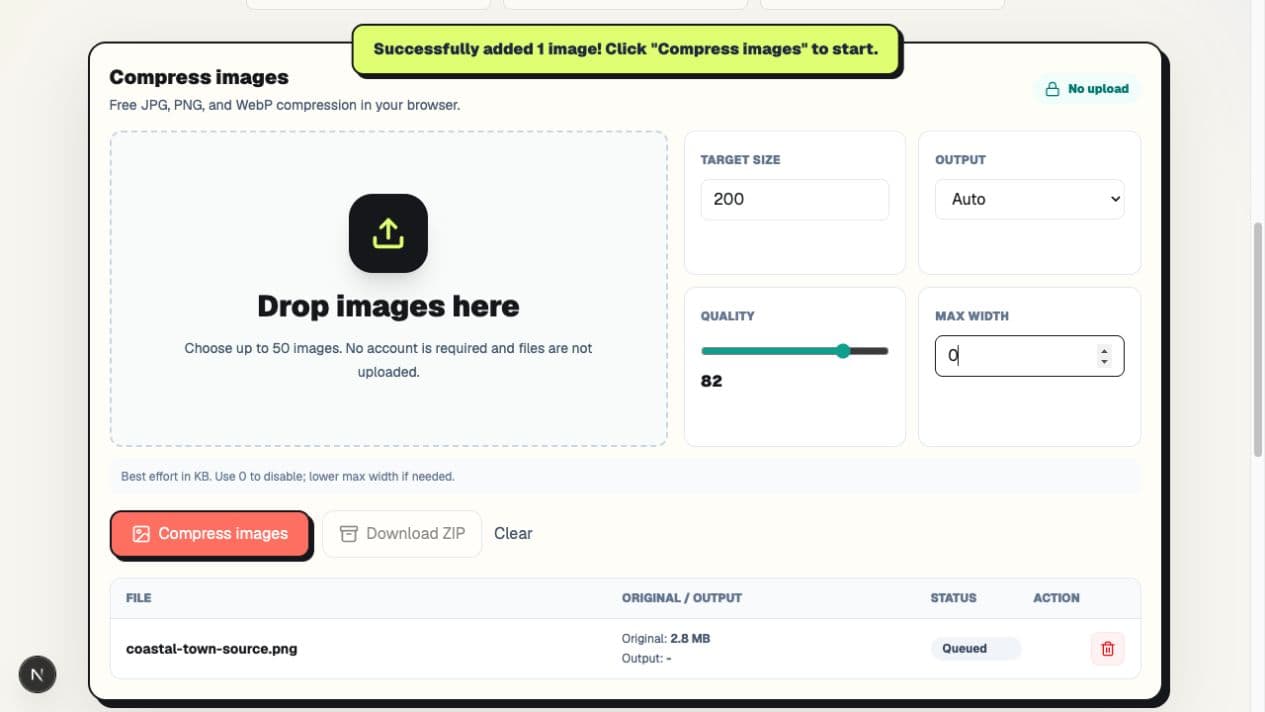
This run returned a 196,308-byte WebP at 1536×1024. It is the safer choice of the two when small text or identification details need as many pixels as possible. It also leaves little room for a portal that uses a stricter or poorly documented size calculation.
Step 3: Try a moderate width limit when the form allows it
For a profile or application photo that will be displayed at a few hundred pixels wide, change Max width to 1200 and compress the original again. Do not recompress the first output: starting from the original avoids an unnecessary second lossy encode.
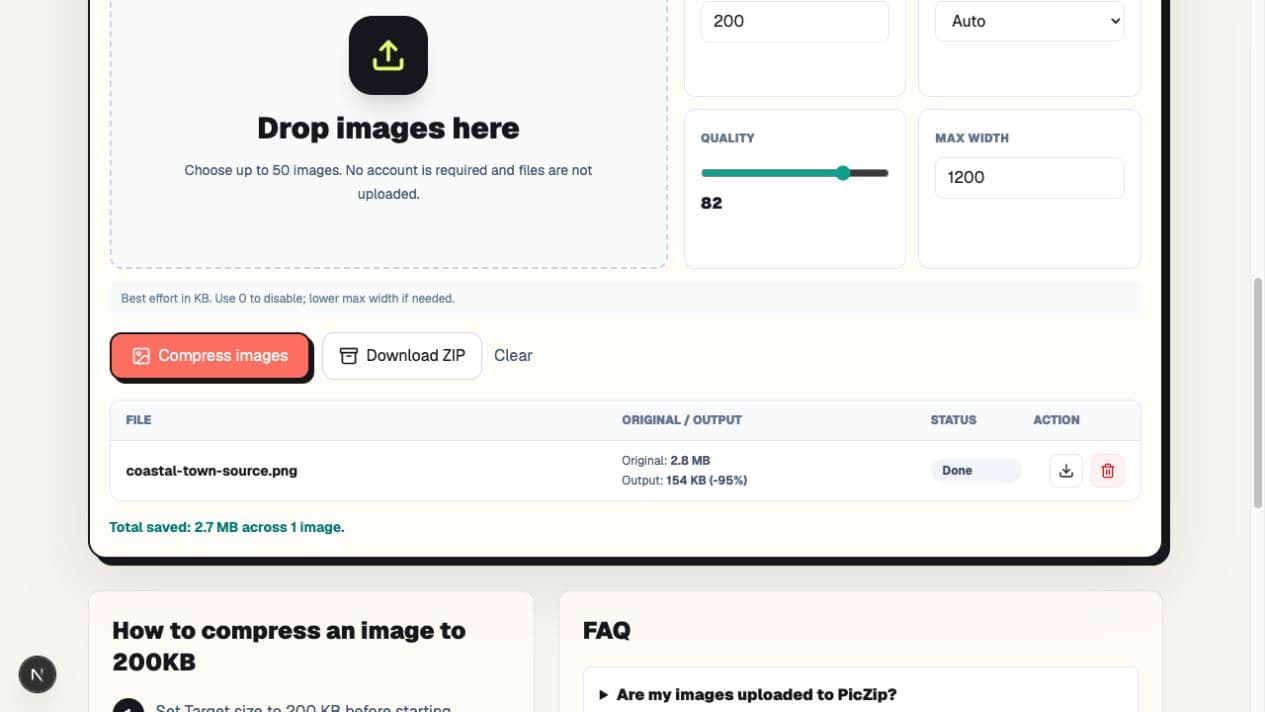
Reducing width removed pixels the form may never display and created more space below the limit. It did not crop the image. However, the first result still contains more total pixels, so it remains preferable for a document scan or any portal with a minimum-dimension rule.
Which result should you submit?
Choose the 1536×1024 version when the form needs readable text, close inspection, or a larger minimum resolution. Choose the 1200×800 version when the image is a normal application photo and you want more safety below the byte limit. If the portal requires JPG, repeat the chosen run with Output set explicitly to JPG.
Open the downloaded file before submission. Check the face, text, signature, stamp, and high-contrast edges at 100% zoom. A green “Done” status proves that compression finished; it does not prove that the image meets a particular institution's content rules.
Common form problems after compression
Why does the form still say the file is too large?
The portal may use 200,000 bytes rather than 204,800 bytes, may inspect the file before a previous upload finishes, or may report a generic error for an unsupported format. Check the downloaded file's exact size and extension, then retry with a little more headroom.
Should I always set maximum width to 1200px?
No. It worked for this 1536×1024 test image and is reasonable for many profile photos, but a scan with small text or a form requiring 1500px width needs a different setting.
Does maximum width crop the photo?
No. PicZip scales width and height proportionally. The 1536×1024 test image became 1200×800, preserving the same 3:2 aspect ratio.
What if the form accepts JPG only?
Select JPG rather than Auto before compressing. Auto chose WebP in both of our tests because it produced the practical smaller result, but format compatibility is more important than a lower byte count.
A reliable submission checklist
- Confirm the downloaded file is below the portal's byte limit.
- Confirm its extension and actual format are accepted.
- Confirm width, height, and aspect ratio satisfy the form.
- Inspect important detail at 100% zoom.
- Keep the original until the application is accepted.
PicZip processes the selected image in the browser. For more detail about that boundary, read how to compress an image without uploading it. Then use the 200KB compressor to test the dimensions that match your own form.